Image maps feel like quite a retro piece of web design. Back in the early days of personal websites and blogs, image maps were how you made a menu that blended into your design without having to learn complicated bits of CSS. They seemed to lose popularity when the trend of beauty blogs and fashion blogs started a few years ago, but we feel like they’re due a bit of a comeback, because they can really help your sidebar look nice and neat (especially for things like all your different social media outlets!) and they would be especially useful when you do a wish list post – as well as numbering the items and linking them underneath the collage you’ve done, you could also make the actual items in the image clickable. Awesome, right?
The ability to create image maps used to be built into Photoshop, but we’re going to look at a website that helps you create the image maps: image-maps.com (Catchy name, right?)
So this is the main screen that you’ll see at first. You can choose whether to upload an image to use as the map, or to use the URL of an image you’ve already uploaded to wherever you upload images to. (If you’d like to test how image maps work, click “Use a text image” and this will give you some shapes to practice on)
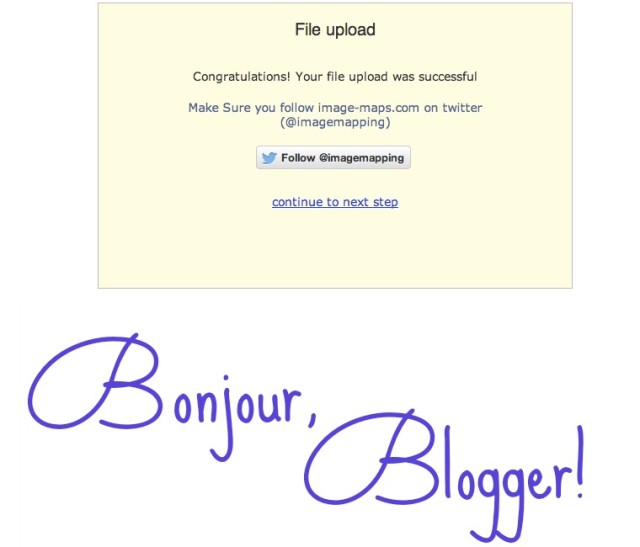
The next screen will show your image uploaded – a good opportunity to check you’re using the right image here while you wait for the countdown to complete.
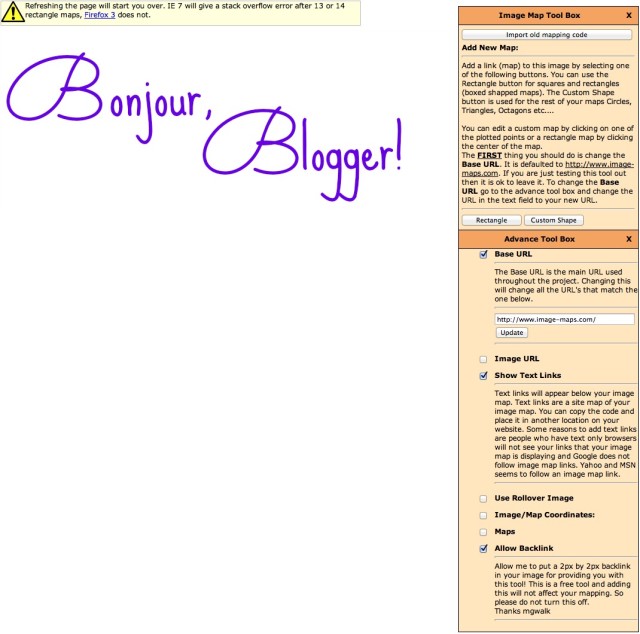
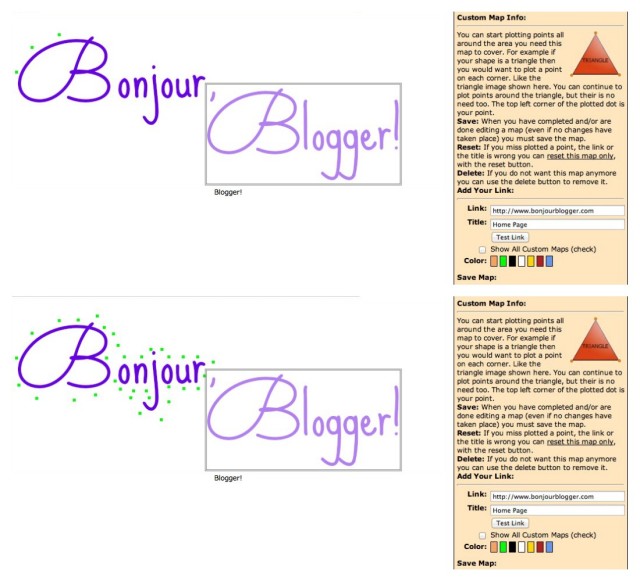
This is the main screen that you’ll use to create your maps – you can do either the standard rectangle:

Or if you’d like to draw around certain parts of your image, then you would click “Custom Shape”. Click all round the image that you’d like to make into a map:
In both cases, you’ll need to provide the links that you’d like to use, and include some useful alt text for people who wont be able to see the image (You can find out more about alt images on this post from last week!)
Once you’ve chosen all of your mapable areas, click “Get Your Code” and choose the HTML code section to get the following bit of code:
Include this code wherever you want to put your map – perhaps in a HTML widget (if you’re on Blogger) so you can move it about easily.
One thing to note with image maps is that they don’t work too well with mobile designs. If you really want your site to be fully accessible on an iPhone, then this is something to be aware of.


