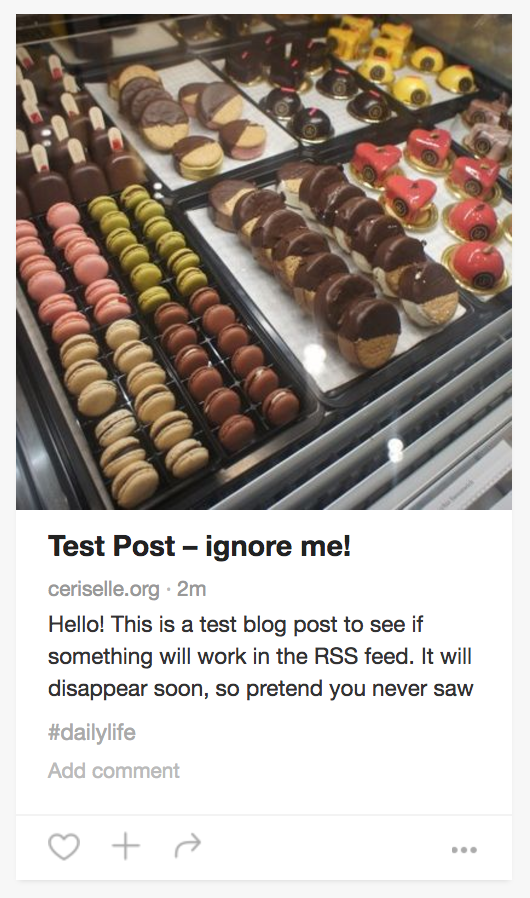
When you publish a blog post, Bloglovin will take the first image in your blogpost and use it as a preview image on your feed. However, that might not be the most relevant image for your post and you might want to choose the image that you want.
We contacted Bloglovin to ask if there was a easy way to set an image for each blog post, but they were unable to help as the feed in Bloglovin is generated using your RSS feed. However, there is a way around this which has worked for us when we have tested it on three different sites, both WordPress and Blogger based.
When you are writing your blog post, insert the image that you want for the preview image at the very start of the blog post. Go into the HTML view and before the image tag, insert <!– and then after the image tag, insert –>. This is called HTML commenting. Using this HTML code, it tricks Bloglovin into using one image, but when a reader goes to your website (or even if they are using something like Feedly) they won’t see the image.
Here’s how the HTML would look when you write your post:
And here’s how the post appeared in Bloglovin – however when you went to the actual site, the image didn’t show up.
This little hack will work for both Blogger and WordPress users – in fact, it should work for any blogging site that will allow you to edit the HTML for the blog post. For our test items, we used the image size 600px by 800px which worked well if you prefer portrait orientated items. You can also check out this post on our Bloglovin feed if you’d like to see if this works!


