…or where your favourite blogs are, or your favourite cities – whatever you want to map, Google is here to the rescue! One of the things we are asked about a lot is “How was the bloggers map made?” Rather than email everyone, we thought we’d share the love and tell you. It’s super simple once you break it down.
Firstly, you’ll need a Google account. You probably already have one if you’re a YouTube user or have a GMail account.
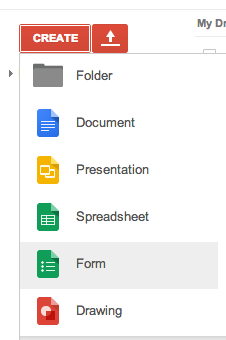
If you want to create a form that a user will fill in, read on. If you just want to create a map of certain places, skip ahead! Go to docs.google.com, and sign in. Click the “Create” button and choose “Form”
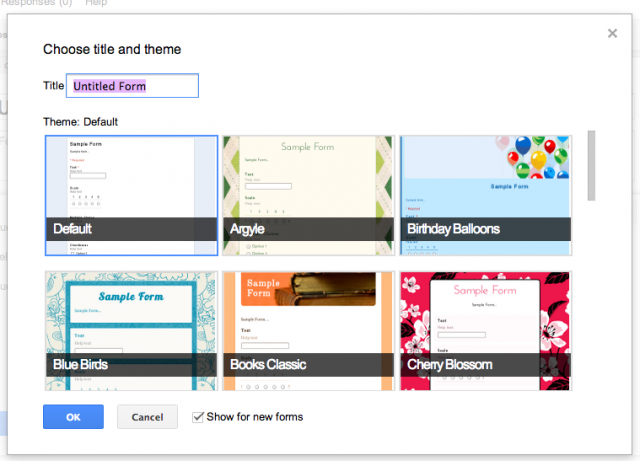
You’ll be asked to choose a theme for your form – we like the blue birds theme, but there are lots of others that will probably fit in with your design.
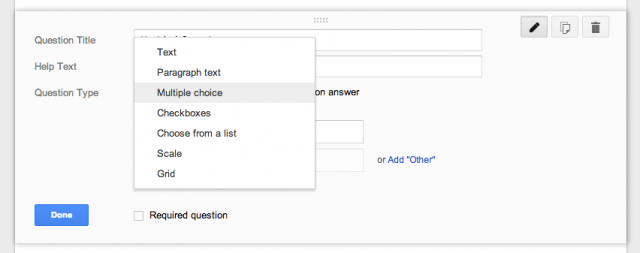
You can add as many or as few questions as you like to the form. As you can see from the below image, you can have different types of questions – perhaps you want people to scale how much they like something or maybe write a short answer in. Click “Add Item” at the bottom of the form to add more questions as you need them.
Once you’ve added all of the questions that you want, you can write a short message to thank your participants for filling it in once the form has been submitted.
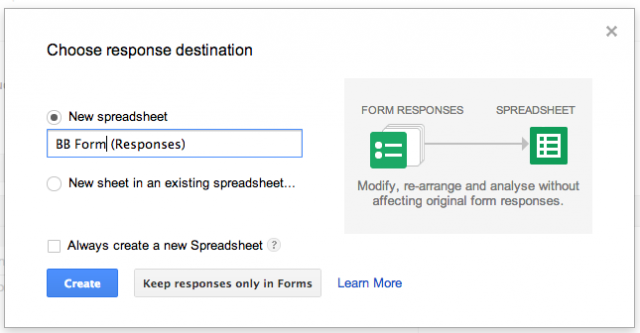
You’ll need your form’s results to go somewhere once they’ve been submitted, so click “Choose Response Destination” in the form toolbar.
We like to send our results to a new spreadsheet for each form, to keep everything nice and separate. Sending the data to a spreadsheet is also super helpful when you want to filter the results on a certain item – for example, the spreadsheet for the Bloggers Map allows us to filter on specific cities as requested.
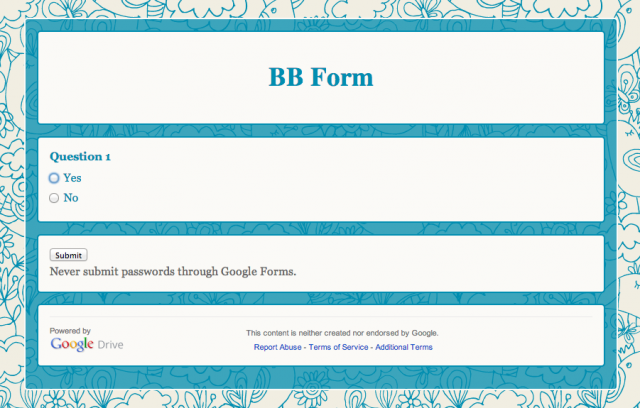
Finally, the completed form will look like this:
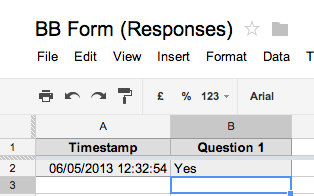
Test out your form (you want to make sure it works!) and then have a look at the spreadsheet:
That’s the form section done. Sounds like a lot of work, but really, it’s almost as easy as creating a form to print out in Word.
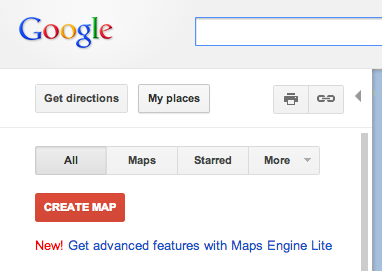
Next, creating your own map. Head to maps.google.com and in the left hand side next to the map, click “My Places”
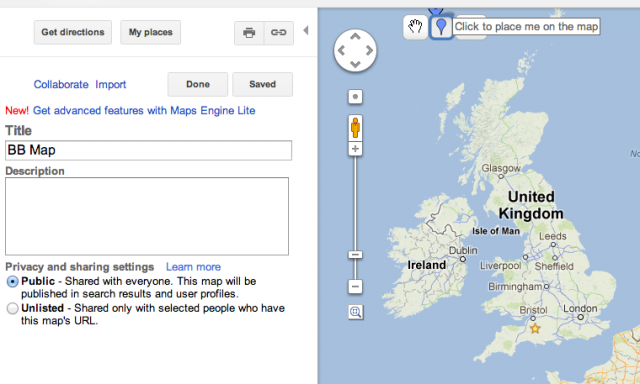
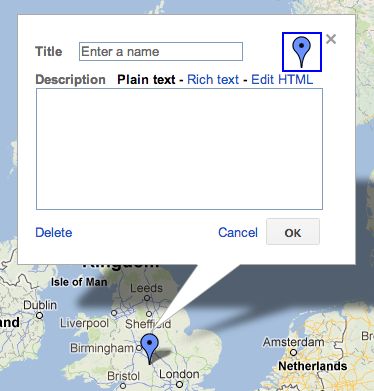
Fill in the name of your map and any sort of description that you want to go with it, then click the marker (where it says “Click to Place Me on the Map” in the below image)
Drop the pin wherever you want to place a marker, and fill in the info – you can change the type of marker pin by clicking on it and choosing one of the ones that are already built into Google Maps, or you can use your own icons (which should be uploaded somewhere else, and should be about 64 pixels square)
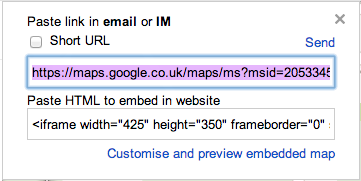
Save your map, and that’s it! You can embed your map into a webpage, so perhaps you want to show certain favourite coffee shops or maybe sample sales for your readers to hit up – to embed the map, click the icon that looks like a link in a chain (see right) and the following pop up will appear:
You will want to use the HTML code that they provide here to embed it into a webpage, but to make sure that the map will appear the right size and focus on the area you want, click “Customise and preview embedded map” and you’ll be able to move the map to suit you, and resize it so it can fit into a sidebar (or wherever!)
Share your map with us – we love hearing about new places to visit!






Brilliant tutorial.