They’re a popular end of the week post, a round up of all the pics you’ve snapped on Instagram, but have you wondered how to ge all your images lined up in one neat image? Picmonkey to the rescue!
First though, you’ll need to get your Instagram photos off your phone. You can do this in a few ways – the most obvious is to connect your phone to your computer with a USB cable. You could also use a cloud based storage account like Dropbox* to automatically upload all images, or you could use something like instaport.me to get every single photo from your Instagram account (useful if you haven’t already made a back up of those images! You can also choose a time range to download images between, all images you liked, or even all images with a certain hashtag – perfect if you have an event or wedding and your friends all hashtag their Instagram images with a certain hashtag!) Go through your images and choose the ones you want to feature. This will make things a lot easier when you go to put them into the image.
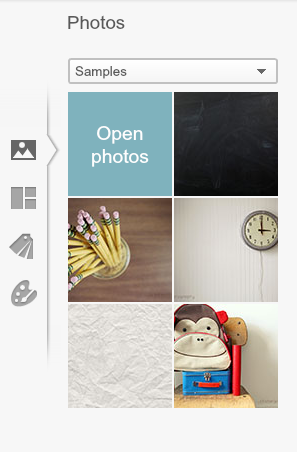
Your images from Instagram will be in a square format, so that makes putting the images in one big image a bit easier! Head to Picmonkey and choose “Make A Collage”. On the left hand side, you’ll see the following:
The first icon is for images. Click the “Samples” dropdown and choose “From My Computer”. Click the “Open Photos” button, and choose the images that you want to include in the image.
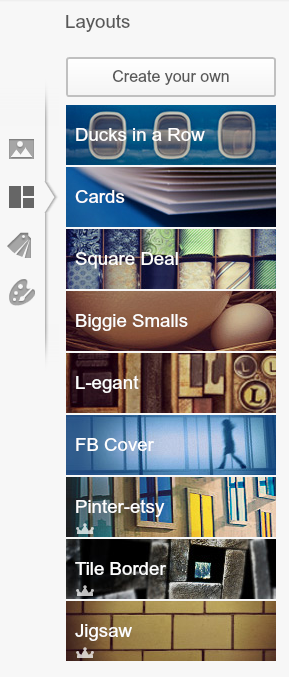
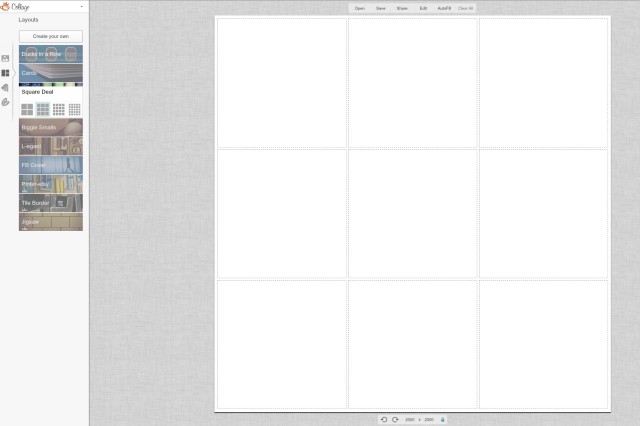
The next icon down (a rectangle and two squares) is where you can choose the layout of your image. The layout type that will work for your blog post best are the “square deal” ones, but have a look at things like the FB cover, because that could be an interesting way to update your blog’s Facebook page cover! Depending on how many images you chose, and how many images you want to create (perhaps you chose 12 images, and want to display them in 3 x 4 square images?), choose your layout, and either click the “Auto Fill” button to get the images you already uploaded into the image, or just click on the “Photos” icon again and drag whichever photos to the relevant section on your image.
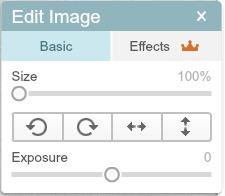
The latest feature from Picmonkey is that you can make some basic edits to the images in each section on a collage to make things a bit easier. Click on the individual image, and you’ll see the following pop up:
The free accounts can change things like the orientation of the image, the size (you can zoom in on certain bits), and the exposure. If you’re a Royale user, you can put filters on there as well, or open the image in the Editor to make more tweaks.
Once you’ve got your collage all sorted, click save, and you’re done! You could just upload the image and write the descriptions underneath, or you could turn the image into an image map and link to the individual Instagram pages to allow the reader to see the image larger, or possibly view a video!
You could, of course, choose to make the image the same size as your desktop and fill it with images from your Instagram to make your desktop look amazing – to change the size of the collage, just click on the padlock at the bottom of the collage and change the image size to match your desktop.
(Oh, and if you want to embed Instagram videos into a blog post, simply log into Instagram and head over to the video page on your desktop computer. Click the icon next to the comment box that looks like three dots, and choose embed. Remember to paste this code into the HTML view of your blog post!)


This is so helpful! Just fount your blog and I love it, so many useful tips! I’d love it if you checked my blog out and told me what you thought!
Thanks for sharing! Didn’t know you can download ig photos!
THANK YOU!! Needed to know this so badly, so helpful for my blog xx