Facebook is one of those networks that everyone says they dislike, but still visit on a regular basis. If you don’t already have one, a Facebook page is useful to have for those people who want to follow your blog but don’t really bother with things like Bloglovin or Twitter. It’s a good idea to have as many different ways as possible for people to follow your blog – you wouldn’t want to miss out on potential followers because you didn’t think anyone would be interested!
Setting up a Facebook page is super simple and can be relatively low maintenance – if you just want it to update when you’ve posted something new to your blog, it can do that, or you could use it as a dumping ground for the things that aren’t long enough or timely enough for a blog post.
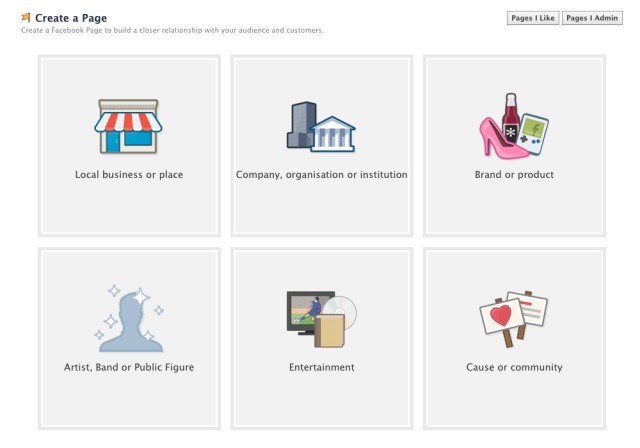
So! Head over to facebook.com/pages and you’ll see the following:
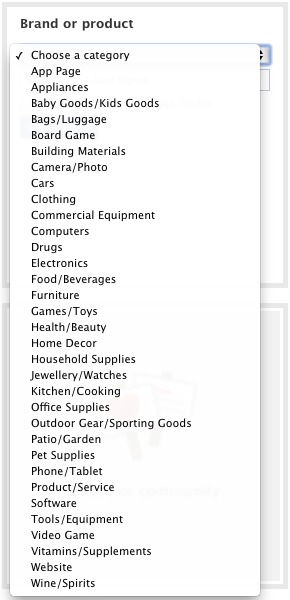
Click create page and you’ll be shown a list of types of pages to set up. We chose brand or product in this section – but don’t worry, you can change this later. A pop up will appear when you click your chosen tile so you can define your page further. You’ll also be asked in this section what you want to name your page.
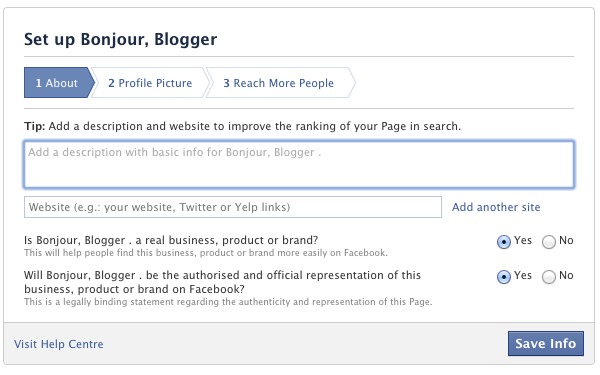
Now to set up your page! Again, the description and website information can be edited later, but the important part here is to confirm that your page is for a real thing and whether you are the authorised representative of that thing.
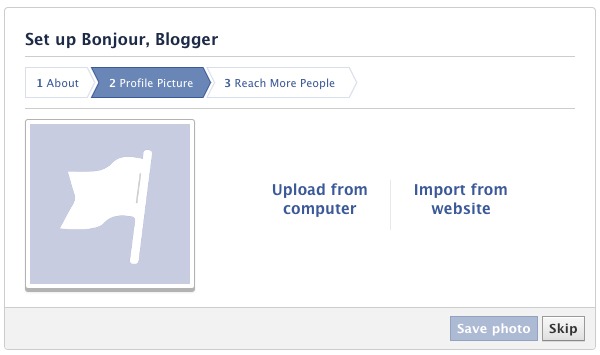
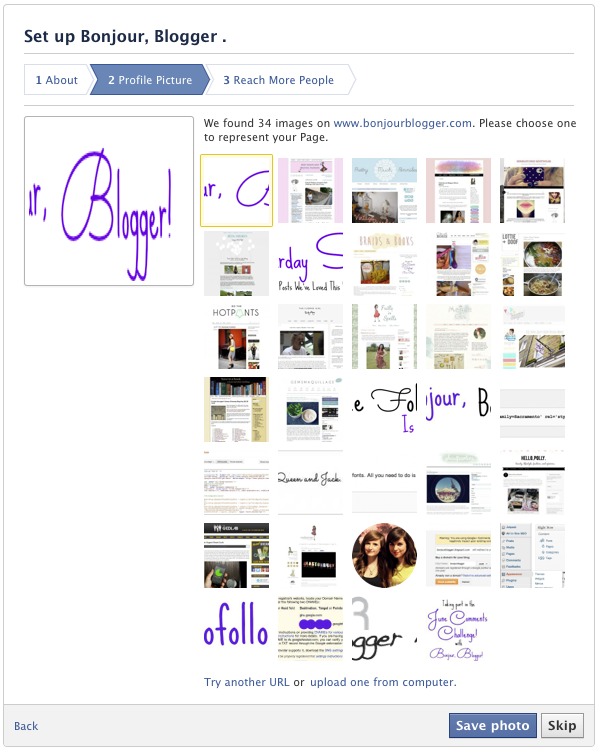
The next step is to get your pretty face (or blog logo) up so your Page is recognisable. You can either upload your own photo or input the URL of your blog and Facebook will fetch images back for you.
Here’s what Facebook fetched back for us – we obviously chose our logo, but you can see how easy it is to get any photo on your blog up on Facebook here.
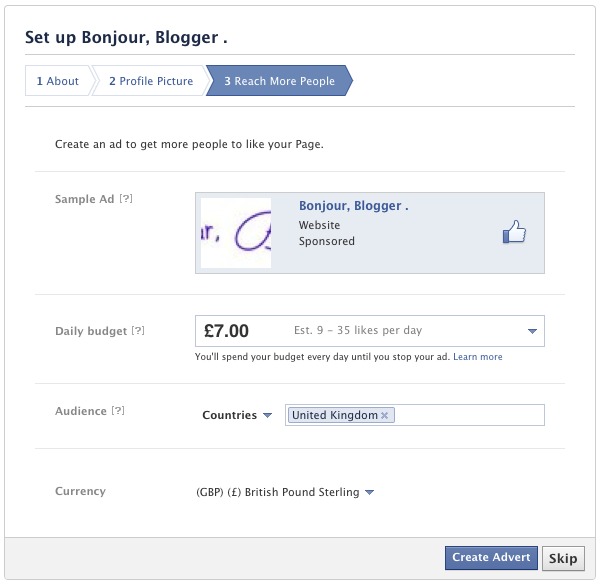
Finally, Facebook would like to make some money off you, so they’re going to ask about ads. You can skip this part if you want to, of course!
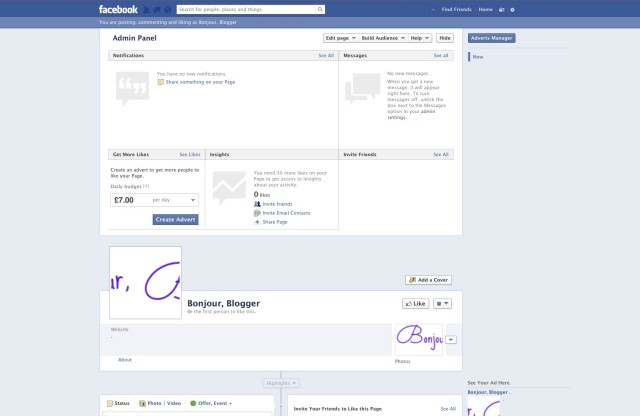
That’s it! Your page is complete! Start inviting your friends to like your page!
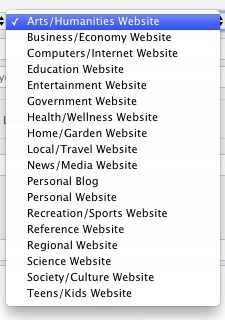
If you want to change your Page’s category, head “edit page” and click on the first Category box. You can see here that there’s a “Websites & Blogs” category, which then narrow down to the type of blog you have. It’s a shame that there isn’t more definition in the blogs section, just “personal blog”, but at least there is a blog category!
Finally, to get your page to auto post new posts, you’ll need a Bloglovin account for your blog (We’re assuming you have that already, especially considering all the reminders for this week!). Head to the My Blog page on Bloglovin’ and click “Connect your blog to Facebook”. Click “Add Blog” and type in the URL of your blog or name. The Facebook app will ask if you want this to autopost to your personal profile or your Facebook page. That’s it!





Just liked your facebook page. It’s striange i follow lots of blogs but never remember to follow them on facebook until i get reminded lol. I would love it if you would follow me too. Thanks
oh its wrongsideof20 cheers
This is a really useful post! I’ve had a Facebook page for a few months but not able to invite friends to like my page… Can you offer any help?
Thanks in advance!!
x
Hi Karen!
You can do it a few ways – the main way to invite people to your page is to head over to your page and click in the bottom right corner of the admin panel – that’s the section we’ve marked in purple on this image (just to hide our friends details!). Click “See All” and a pop up will appear with friends who do not currently like your page. Choose the ones to send the invite to and click submit!
You could also invite people though by posting a link to your page as a status update, or perhaps send it as a message to people.
Hope this helps :)
Bloglovin only seems to connect to personal profiles just now, with no option to link to a page. Just thought I’d let you know!