Polyvore has been around quite a while now. If you’ve not heard of it before, it’s a website that will “clip” products from a shops website and allow you to place them into an image. It’s a few years old now, but it’s still very useful for those who don’t have Photoshop. You’ll need to register for an account and install the clipper to your browser. This will make it very easy for you to clip any images that you like when browsing to your account. Just drag and drop the link onto your bookmarks bar.
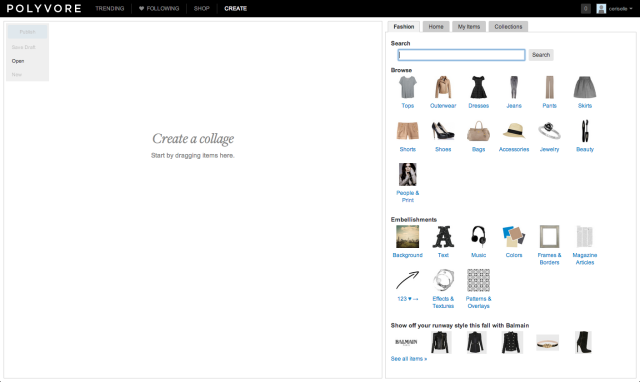
Once you’ve got a few items clipped to your account (of course, you could use the search function to look for anything specific that would fit with your set – you can search by brand, type of item, colour – whatever you can think of really!), create a set, and you’ll see the below screen:
You’ll find the items you’ve clipped in My Items, just drag and drop the items onto the blank space – resize them, flip them, whatever you need to do.
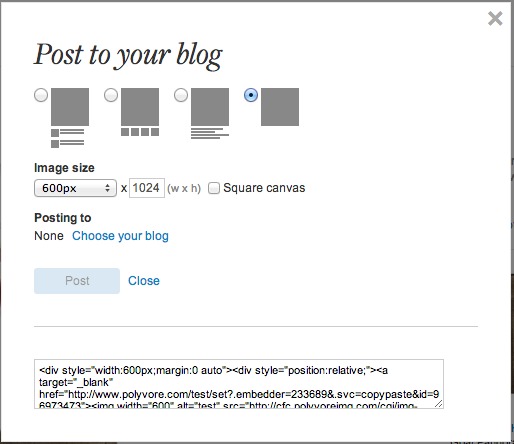
Once you’ve gotten your collage looking how you want it to, click the publish button. You’ll need to give it a title and a category (there are only 4 available, so its pretty easy to choose!) The next step will ask if you want to import it into your blog, but if you don’t want to connect your blog to Polyvore, click done, and it will take you to the set page. Click the blog button above the set, and you’ll be given some different choices on how to post your image to your blog – whether you want to include the links to the products underneath. Copy and paste the HTML into the HTML view on your blog editor, and publish your blog post.
As you can see, you can choose the size, etc. If you want to edit the image in Picmonkey, copy the HTML into a Notepad file, cut out the URL in the <img src=””> link and paste it into a new window so you can save the image.
Here are a few examples to show you the different ways Polyvore can be used:


Thanks so much for posting this. I just discovered my photoshop is not working on my mac and I need to make a collage now!!!