So sort of following on from yesterdays post about selling samples, we thought we’d look at how to add PayPal buttons to your blog. Whether you’re selling your makeup stash, selling your crafts or just putting a button up to take deposits for blog designs, PayPal buttons can make things a little easier for the reader.
PayPal buttons might not be the best way for you to do something (they’re a little bit of a faff if you’re doing things this way) but they’re a good starting point. We’ll be looking at other shopping cart solutions in future posts – if you have anything specific that you want to look at, let us know!
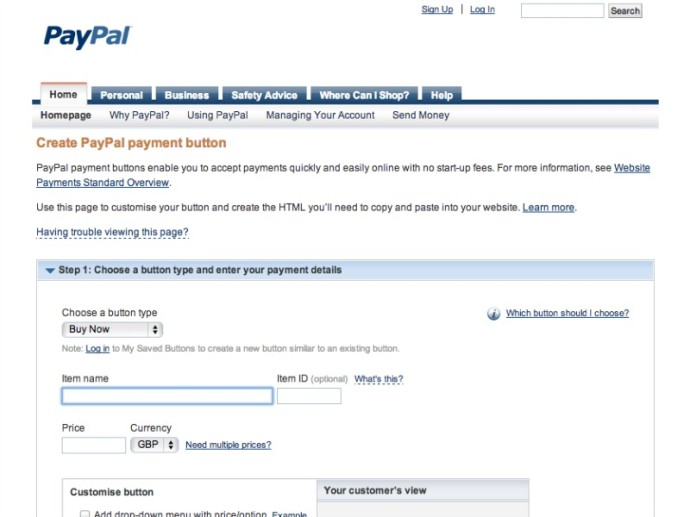
To create buttons for your site, head to the PayPal button creation page (as seen below) If this link doesn’t work for you, then log into your PayPal account, go to “Profile” (under the “My Account” banner at the top of the page), then “My Selling Preferences”, then click on “Get Started” next to PayPal Buttons under the heading “Selling Online”. The wording for these headings may vary slightly if your account is a business one or a personal one.
If you’re a WordPress.com user, then go through creating a button as per the page, but you don’t need to (because they won’t work!) check for customisations, and you won’t be able to embed the actual button – there’s more info over on wordpress.com about this.
Most people who will be doing this won’t have a Premium or Business PayPal account, so choose the options to use your primary email address. If you need to add more email addresses to your account (if you have a different email for your blog than the one you use for everything else), then you can add those in the Profile section – more details on that on the PayPal website
You can find all the buttons you will probably ever need on the PayPal website


