You may have heard of Afterlight as one of the favourite editing apps for many bloggers, but do you know how much it can do?
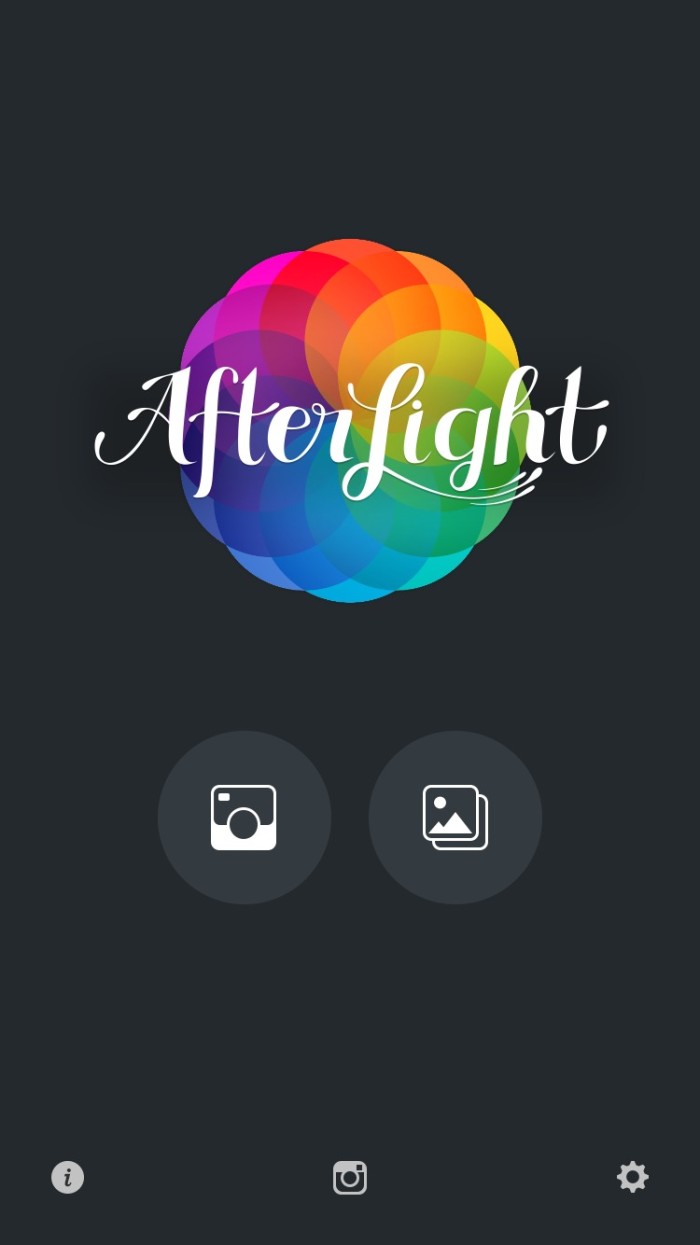
When you first start the app, you’ll see the following screen. The left hand icon will take you to the camera, and the right will allow you to open an image from your camera roll.
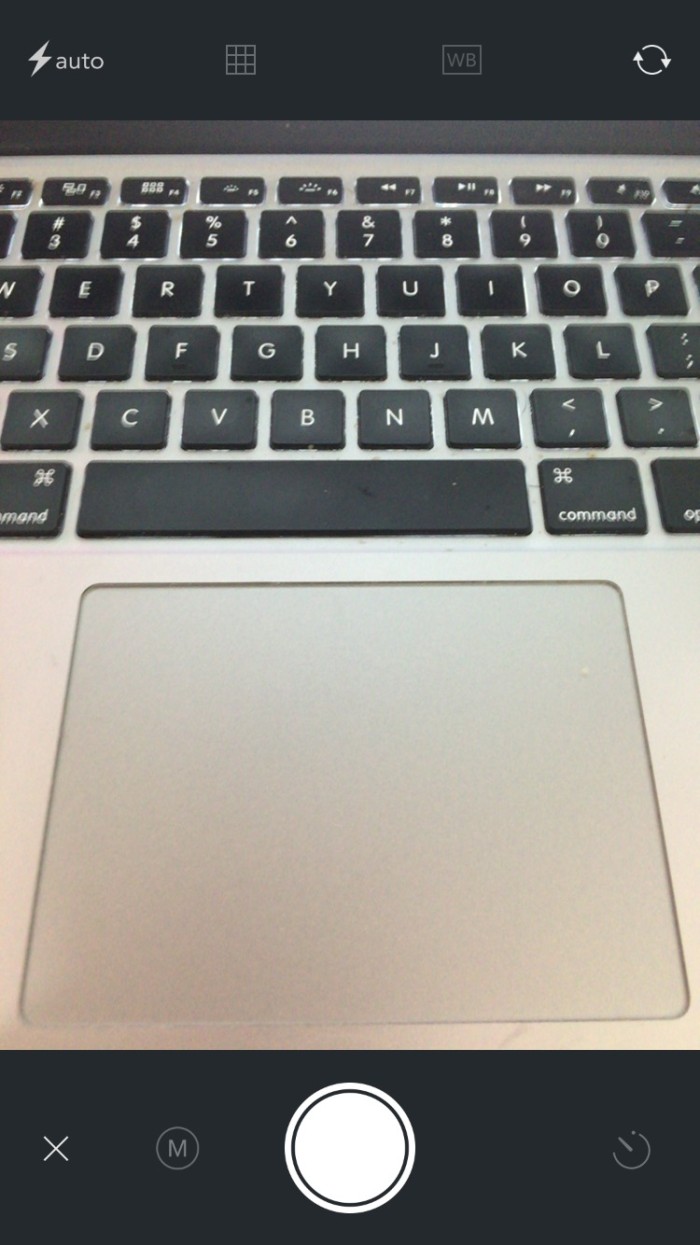
Using the camera function through Afterlight will give you a few more options on screen (including a useful balance beam – tap , but once you’ve taken the photo, you’ll need to go back a step to the opening screen to open your image in the app.
Once you’ve opened your chosen image, you’ll be able to tweak it to your heart’s content! In the first tab (the three lines and squares), you’ll find the basics – a clarify magic wand which will do the basic work for you, brightness, contrast, saturation (how much colour do you want – or not want! – in the image), exposure, highlights, shadows, fade (a filter to dull down the colours), highlight tone (red, blue or green), mid tone (again, highlighting the red, blue or green tones in the pic), shadow tone (r,g,b) and finally (phew!) temperature.
If you just want a one stop filter, then tap the coloured circle and you’ll find tons of filter options available, grouped in collections as there are so many! Items with a yellow dot on require an in-app purchase. You can use the slider at the bottom once you’ve chosen a filter to choose the level of intensity. You can also use the Fusion feature to create quick combinations of adjustments – just tap Fusion, New, then the different filters/adjustments and finally, tap Fusion again. You’ll see a count in the bottom right corner to show how many actions are being performed, and can go back and edit them later. Useful if you always do a certain combination of actions on your photos!
Next are overlays that will make your image look a certain way. If you like the look of light leaks or dust on the photo, then this is the section for you. Again, there are lots to choose from, just tap your way through them to see which looks best.
The crop icon hides more than just changing the size, but also gives you rotation, flip/mirror functions, a way to straighten your picture and finally, a way to overlay another photo on top (the two squares at the end)
The last icon has different masks for your photos – these are useful if, for example, you want to use a landscape photo on Instagram and don’t want to crop it. There are some interesting masks like silhouettes, shapes and even letters. With the in-app purchase packs, you’re able to try them out to see if they’re things you would use – useful so you don’t feel like you waste your money!
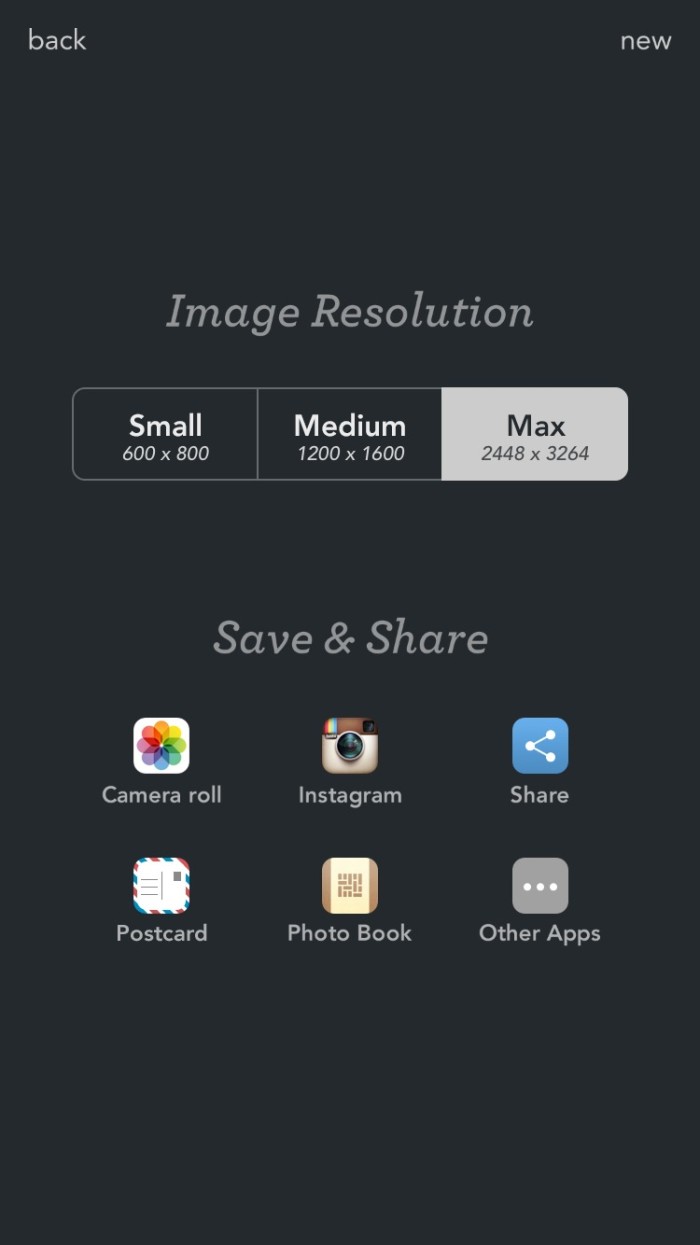
Once you’ve finished making your photo even more beautiful, it’s time to save! We love that Afterlight doesn’t just offer different sizes to save it to your camera roll as, but also the ability to put it directly into another app. For example, tap the Instagram icon, and the photo will be sent directly to Instagram for you to caption and post.
Afterlight is available on Google Play, App Store and Windows Phone Store


An App that looks half decent and also available in the Windows store?
I DON’T BELIEVE YOU.