OK, grab yourself a cup of tea, because this one is a bit of a long and a little bit complicated one, but after explaining it at #blogclub last week, a few people wanted to get it down in writing so they could work through it themselves.
We all know that to drive traffic back to your blog, then you need to be talking about it at regular points. If there are old blog posts that aren’t specific to a time, then those are the best to tweet out, but you can also tweet things about following on Bloglovin, or checking out a certain feature, etc. Bonjour, Blogger! is one of those sites where most of the content is not restricted by the timing, and because we have so many posts on the site, then posting about older posts on the various social media channels is a great way to bring people to the site. You might not have been following when the post originally went up, or might not know that’s the post you’re looking for right now, but you’ll never miss out!
You’ll need a Google account, an IFTTT account and a Buffer account with the relevant social media accounts attached to it.
First, head to IFTTT, and create a new recipe. As Bonjour, Blogger! is run on WordPress, this is the recipe we use. If you’re a Blogger user, then there is a Blogger channel that you’ll need to activate instead. In theory, it should work in the same way as the WordPress one as it’s just recording what was posted and when.
The “if” is the blog platform you’re on, and the “then” is adding a line to a spreadsheet.
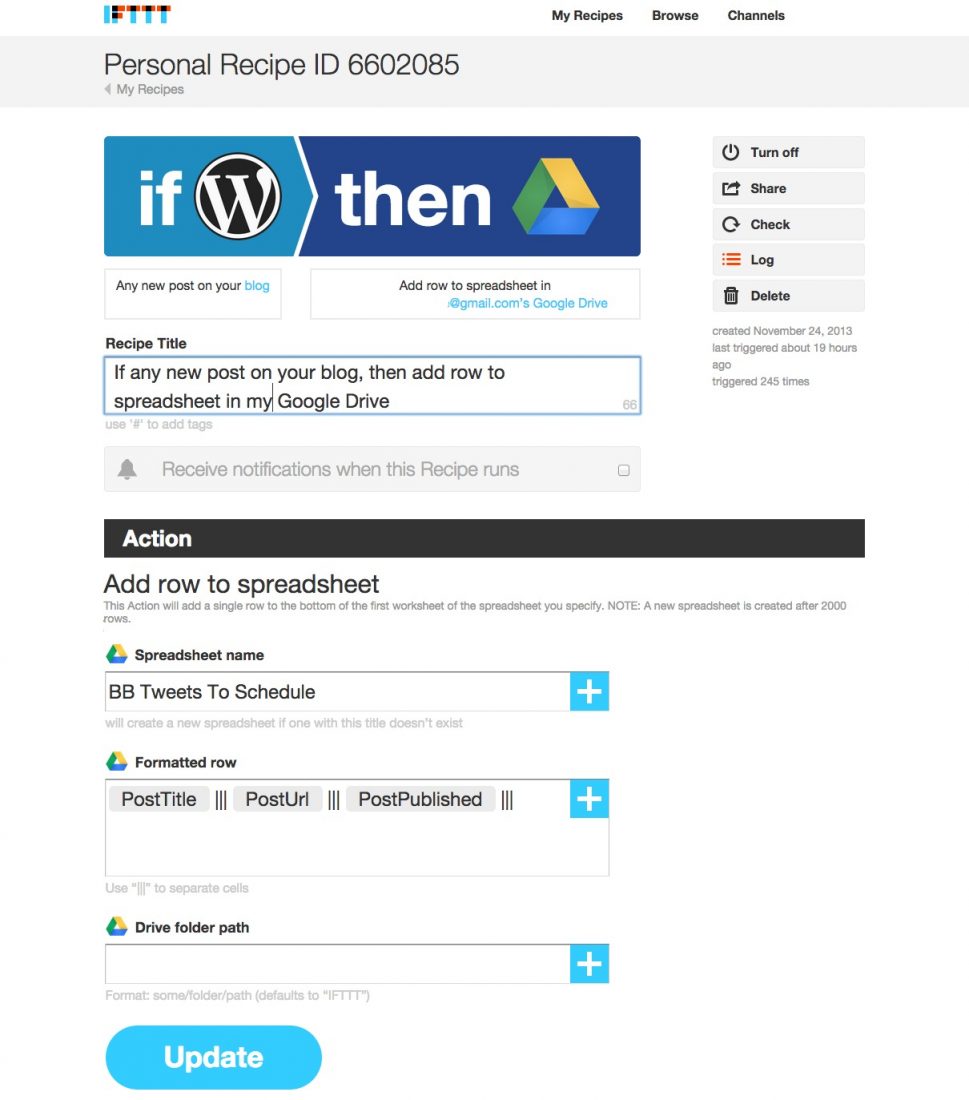
You’ll know things are working when a new spreadsheet pops up in your Google Drive account (probably in a folder called IFTTT) and there will be a line on there with the blog post details. Once you’ve posted a few times, you’ll end up with a spreadsheet that looks like this:
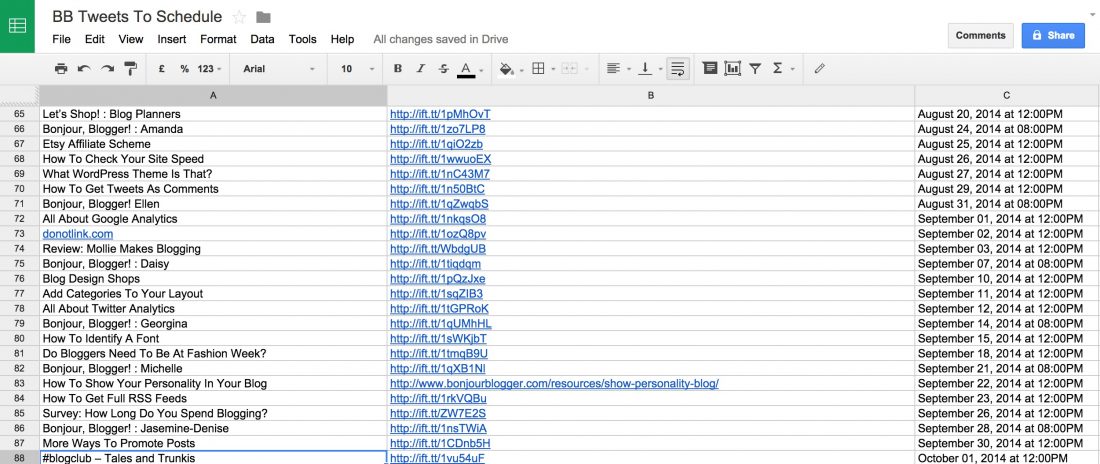
We create this spreadsheet to automate recording the details of any new blog posts. You could, of course, create your own spreadsheet and add to it each time you write something new, but when IFTTT makes things so easy, why bother?
To get the actual tweets for each post, add an extra column at the end of the data (it’s to the right of the date column in the above image) and on each line, write a tweet about the blog post, making sure to include the link to the blog post.
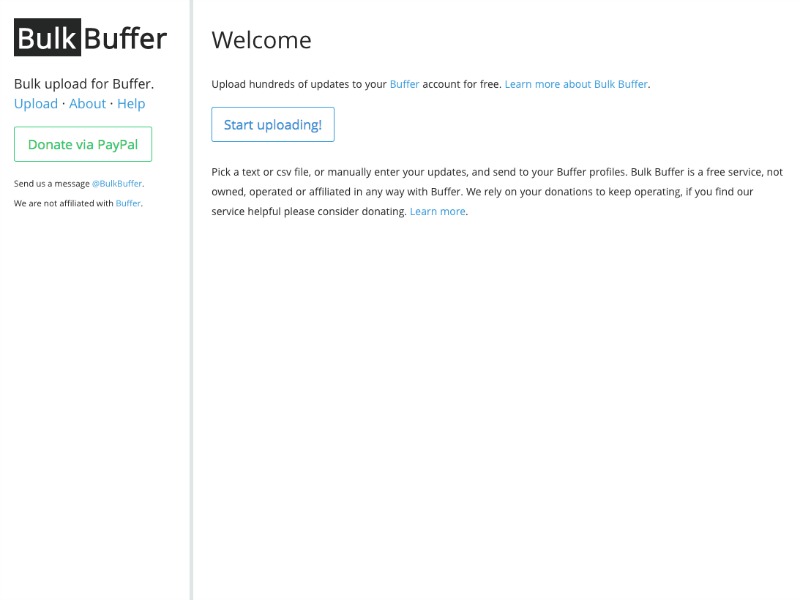
Bulk Buffer is a site that allows you to upload files of tweets to Buffer. If you want to post quite a few at once, then this makes things really easy. You can upload text (.txt) or comma-separated values (.csv) files to Bulk Buffer – each new tweet needs to be on a separate line. So why have we created a spreadsheet, you’re probably wondering! Simple – just select a portion of your tweets and paste them into a text document, and save it.
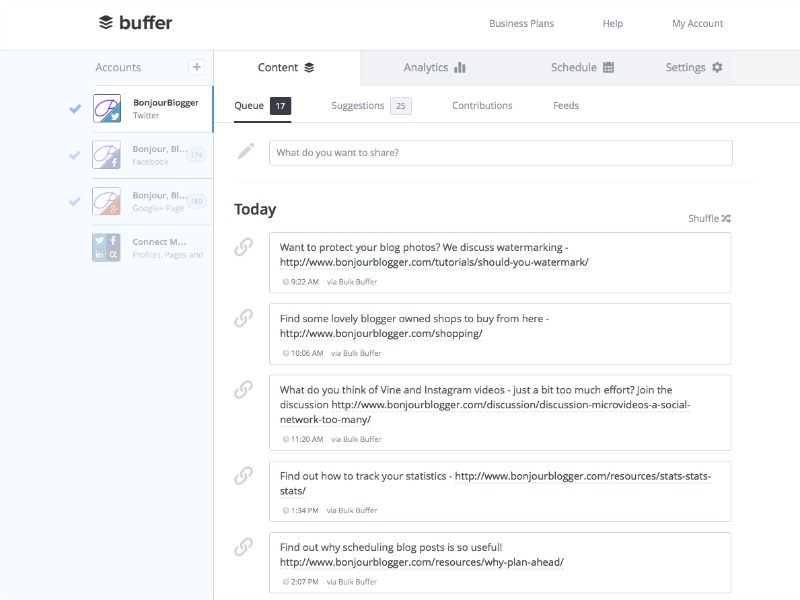
Bulk Buffer will allow you to upload as many messages as you like in one go, but Buffer’s free version will only allow you to save 10 messages for each social media account. Their “Awesome” plan, however, is just $10 a month and allows you to have 200 messages in each social media account.
Once you’ve uploaded your file, then you can head over to your Buffer account and click the shuffle button to rearrange things! You can change your posting times in Buffer as well, just head to the settings section to change when and how often to post.
On a regular (weekly or monthly, depending on your posting frequency), just update your spreadsheet and add another file to Buffer. It sounds difficult, but it’s so much easier than scheduling tweets manually!
If you get stuck, give us a shout on (where else?) Twitter!


One Comment